
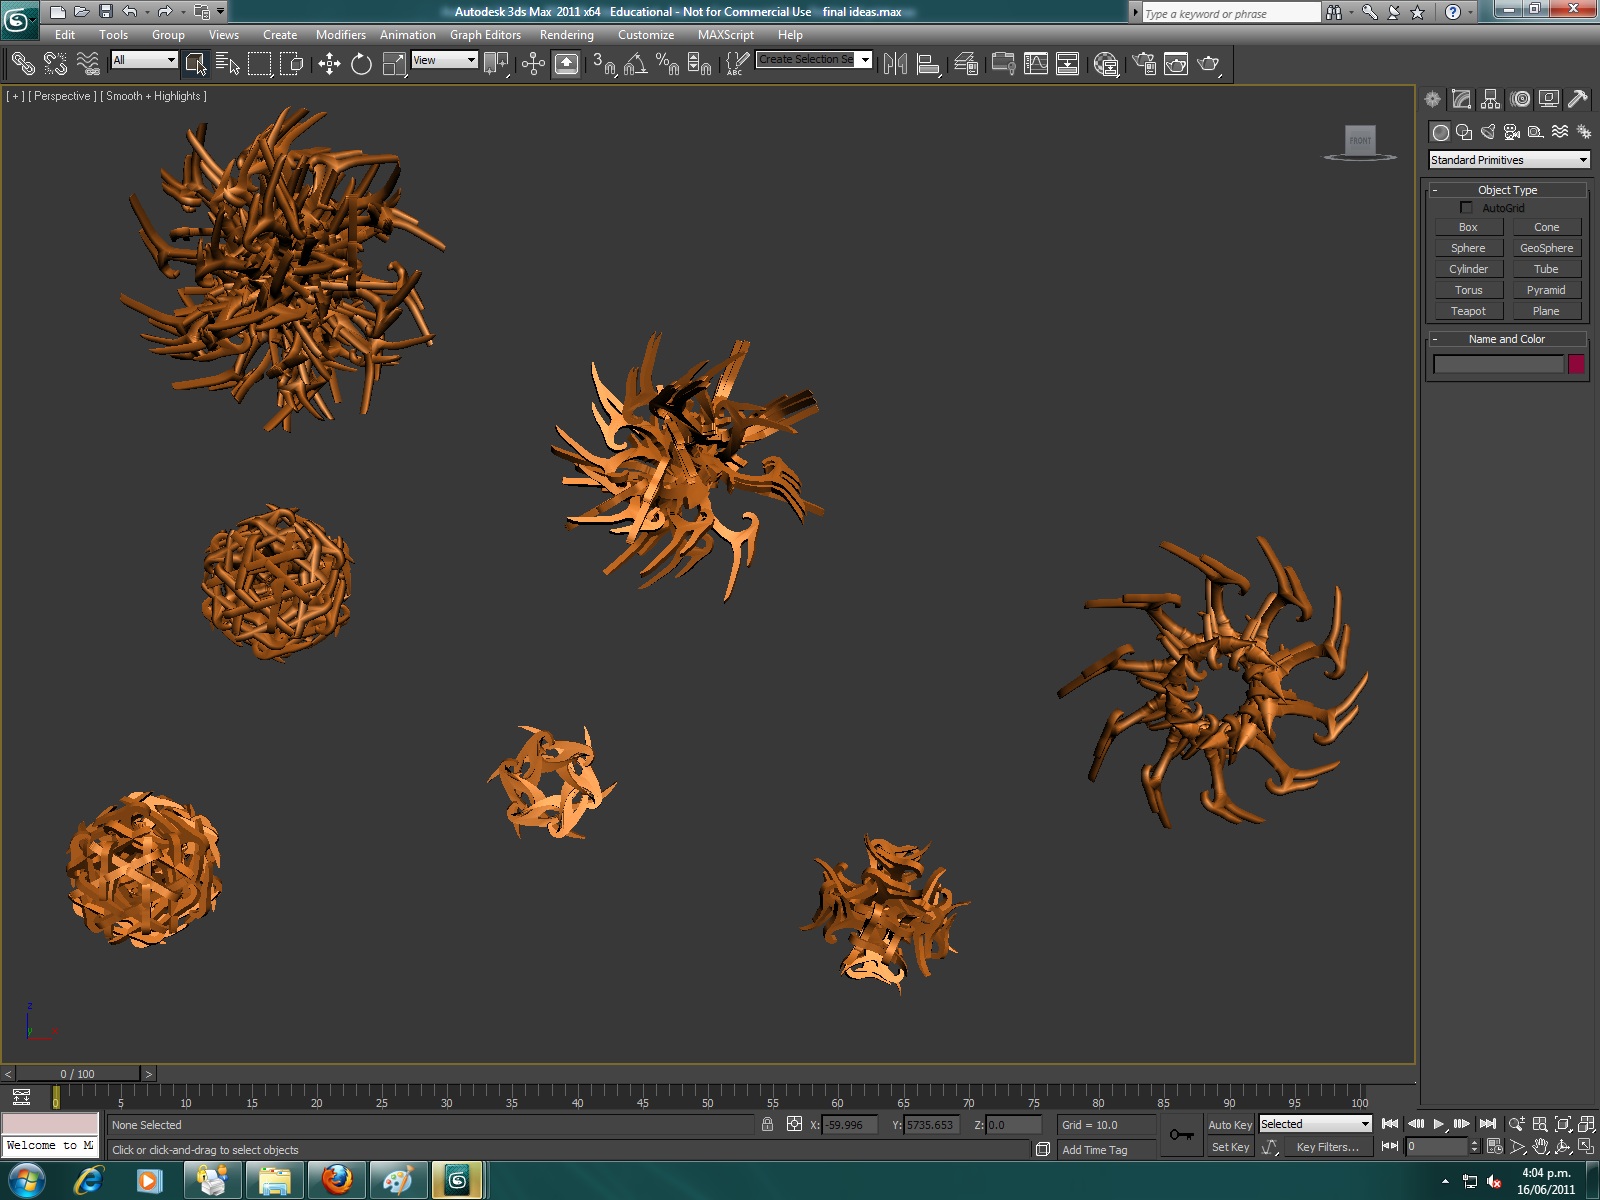
This is the model i choose to get printed:
I liked this one the best because it was easily the most intereting and less repetative, It was quite different on each side you look at e.g one side is more like antlers and then there are two sides where the antler shapes overlap creating a square shaped(linked to my presedent of the patter drawing). The sharp edges most suited my precedents and was most suited to the idea i wanted to get across.
Before i could hand in my file there was a few things a have to adjust.
Firstly i have to make sure the size was correct, it has to fit inside a 30x30 cube. So to check this i created a cube that size on 3DS Max and placed it over my model. I then adjusted the size of my model to that you could not see it sticking it out of the cube. Perfect!
Secondly, I have to make it a STL format so that the 3d printer could read it. To do this i first had to check the file for errors using the 'STL check modifier' on 3DS Max. This modifier checked my model for errors including the following:
1. Open edges
2. Double Edges
3. Spikes
4. Multiple Edges
When i check it it ends up having 6 errors. Turns out I have gaps/holes in my model which means some parts are not touching correctly. To fix this I make a small sphere and placed i directly inside the center of the model where you can't see it but it can touch all the parts so it can hold them all together.

I am now all ready to hand im my file for it to get 3D Printed.
No comments:
Post a Comment