Thursday 31 March 2011

Project 2-Precedent Images

These are some images that i have found to give me inspiration for my model:
Use of layering to create a 3d image which has depth

Forming animals out of cuts of material(lines,shapes) 
Use of layers and sections removed

Monday 28 March 2011

Project One - Final Models

FINAL MODEL:

This is my final model rendered. It has a two types of brown wooden materials on the model and is put up against a bright green grass background. The reason I rendered my final model like this is because the model is based on reindeer antlers which have a wood texture and a reindeers habitatt is in the wild (grass fields/landscape).I chose this model for to be my best model as i though it reflected my words clearly:  
  • Sharp
  • Organic
  • Detailed


FINAL 81 MODELS:

These are my final 81 iterations models that have been rendered. I put them against a dark background as it made the models stand out. I chose to materialize my models with a white stone because the shadows were most visible.

Sunday 27 March 2011

Project One - Rendering

I have finished my 81 models and now have to render them out. These are images of the 80 iterations being rendered and the process:
Final layout or iterations: They are in line from the left and top view and in a grid from the front

editing render setup options

More render setup changes
 Wooden material I used 

Rendering final model using materials and lighting


Thursday 17 March 2011

Project One - 3DS Max Iterations

I have finished my solids works model and have imported in into the program 3ds Max. This is a program that allows you to turn 3d models into all sort of shapes and to edit model to make them look spectacular. We are to use our solid works model and change it to make 81 new models,using modifiers such and bending, twisting and repeating tools.

These are some images of my progress:
playing with modifiers
grouping to models together and stretching

laying out my models in coloured sections

Saturday 12 March 2011

Project One - Making Models On Solid Works

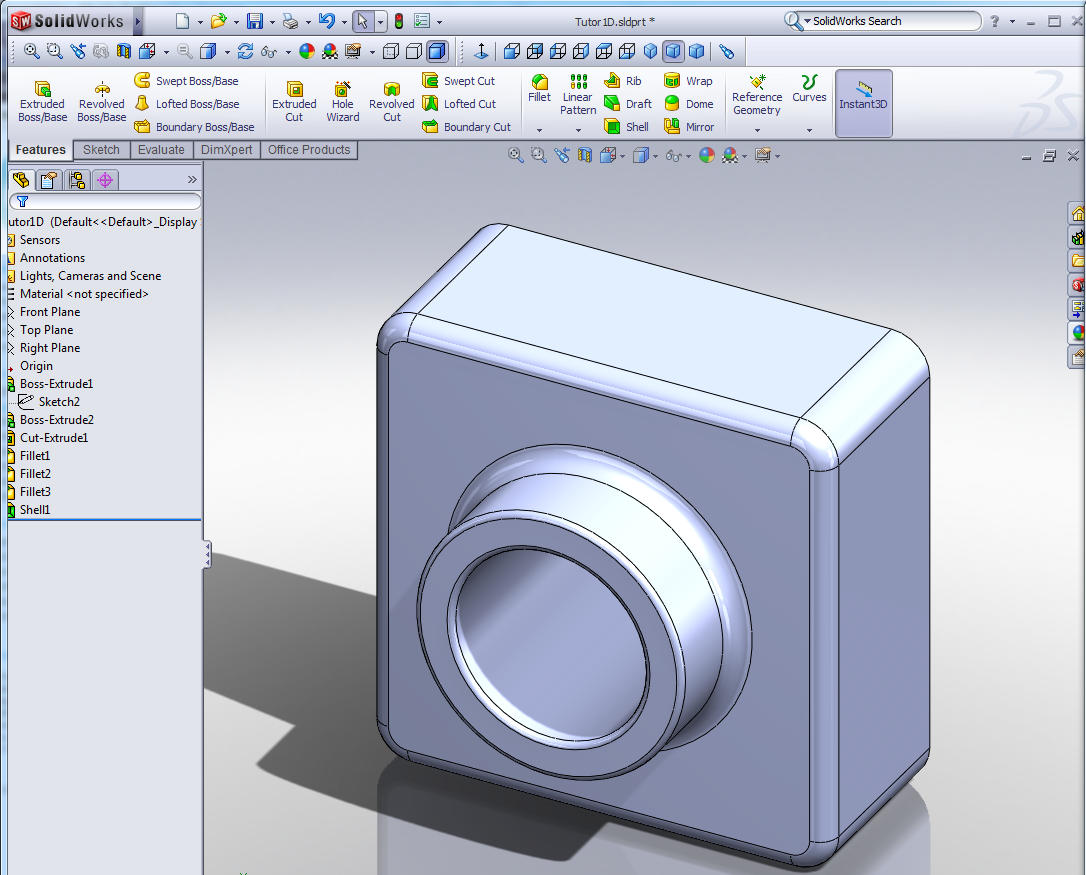
To start my project i firts had to do some tutorials in solid works to get the hang if it. This is an image of a camera i made in one of the tutorials:


I then began to make my own model using the image I have chosen (reindeer skull and antlers) with my three descriptive words; Sharp, Organic and Detailed, in mind.
Here are images of my progress during making the model in Solid Works:
 creating points to draw around the part if image i want to select


embossing my image i cut out


final image embossed

Wednesday 9 March 2011

Project One - Precedent Images

We had to browse the web and find images of design objects that appealed to us. We were then asked to choose the most inspiring image and assign three words to it. These words describe the chosen  image but will also form the basis of our first project.

These are some images i liked:


Describing words:  sophisticated, edgy, stylised.

Describing words: organic, heirachy, unbalanced.

 Describing words: sharp, detailed, organic.


Introduction to digital creation

My studio sessions for this course require me to learn how to use a digital program called Solidworks, which allows me to create 3D objects. So far I have found this challenging but after completing several tutorials i'm slowly picking it up.